Today I wanted crumpets.
Not those tasteless, dry, and flat ones you buy from supermarkets in Canada, but delicious, mouthwatering, homemade 'proper' crumpets.
I wouldn't usually make them unless I am desperate, as I find messing about with egg/crumpet rings a pain in the proverbial. I always find you need to almost soak the rings in melted butter so that the crumpet batter won't stick, even on non-stick rings.
I normally use either Paul Hollywood's recipe here, or the one from the Hairy Bikers here. So, in 35deg C heat, I made up the batter and got started.
This is the best of my first half dozen:
Very tasty, but a dismal failure. I don't know what the matter was, but the batter would insist on sticking to the rings. But I wasn't giving up.
I wondered what would happen if I tossed the rings, and used the same batter to make pikelets instead. Well, it worked a treat.
Much better. No more crumpet rings for me. I'll be making pikelets all the time from now on.
Welcome! If you have any questions, please contact me at cherylsteahouse[at]gmail[dot]com.
Thursday, 9 July 2020
Thursday, 25 June 2020
Ladybird Birthday Cake
This ladybird princess cake was made by me some time ago for my granddaughter's birthday, at her request.
I used the ladybird cake from one of Debbie Brown's novelty cake books, and just added a crown.
She loved it!
This year, my granddaughter asked very sweetly if I would make her a princess and a frog cake - how could I refuse. I guess I'll be getting out my Debbie Brown books again.
Labels:
Crown,
Debbie Brown,
Easy birthday cake,
Ladybird cake,
Sugarpaste
Sunday, 31 July 2016
Lily's Second Birthday!
It was Lily's second birthday on Friday, and on the Saturday we celebrated with the whole family at my house.
I made this cake for her - she's an avid fan of Peppa Pig.
The very moist chocolate cake was covered in a homemade marshmallow fondant (which tastes infinitely better than any store bought variety and is very simple to make), and the Peppa and George figures were made from the same fondant, but because it was quite soft they got a little tubbier whilst drying out.
Lily had a few problems when it came to blowing out the candle, but after some help from her big brother, Noah, (and grandad too), we eventually got to eat it! Delicious.
George ended up looking up at the sky - I'm thinking that maybe he saw an airplane or a bird overhead? !!
Labels:
Birthday,
Buttercream,
Cake,
Chocolate Cake,
Ducks,
Fondant Icing,
George,
Marshmallow Fondant,
Party,
Peppa Pig
Tuesday, 19 April 2016
Gypsy Tart Recipe

This recipe calls for some pretty energetic whisking, so if you have a stand mixer, or a handheld mixer, use it. It saves aching arm muscles the following day!
Note - For this recipe, you need to use the darkest brown sugar you can. If you can only get a light brown sugar, then you will need to add a good tablespoon of molasses to the mix, otherwise your filling won't set.
Gypsy Tart
Ingredients:
1 x 7" pastry case, baked blind (or, for ease, purchase a pastry case)
1 small tin evaporated milk (about 170ml)
10oz (280g) soft brown sugar (plus a good tablespoon of molasses, if required - see note above)
Method:
Heat oven to 177C fan (190C/428F/gas mark 7) Make the pastry case and (using greaseproof/parchment paper and baking beans, if possible) bake blind in the oven for 10-12 mins. Remove paper and baking beans, and return to the oven for 3-4 minutes until the pastry case is a light golden brown.
Whisk the sugar and the milk together (and the molasses, if using), very well, until the mixture is fluffy, light in colour, and thick. This will take around 15 mins.
Pour the mixture into the pastry case, and bake for a further 10-15 mins. The surface should feel slightly sticky, and the filling will continue to set as it cools. Leave in the tin until cold.
Cool completely before serving.
My mother's recipe actually suggests that, after completely cooking the pastry case, you should turn off the oven, make the filling, and then return the filled tart to the slightly warm oven "to set". I have tried this method more than once, but have never been able to make the filling set this way.
Labels:
Bake Blind,
Brown Sugar,
Dessert,
Evaporated Milk,
Gypsy Tart,
Molasses,
Pastry Case,
School Dinners
Mock Cream Recipe (School Dinners in the UK)
Did you have school dinners in the UK?
If so, do you remember the 'mock cream' we were given on/with desserts? Well, I've just found the recipe for this that my mother gave me years ago. It tastes exactly as I remember. The recipe does call for overnight refrigeration, so bear this in mind if you decide to have a go at it.
Mock Cream
Ingredients:
8oz (200g) dried skimmed milk powder
Half pint (250ml) water
2oz (50g) caster sugar
Half teaspoon vanilla extract
Method:
In a heatproof bowl, mix the milk powder into the water, and cook over a saucepan of boiling water until thick, stirring now and again (15-20 mins after the water comes to the boil).
Keep in the refrigerator overnight, covering the surface closely with damp parchment (or greaseproof) paper to prevent a skin forming.
Next day, whisk the cream with the caster sugar until thick and creamy. Add the vanilla extract.
If so, do you remember the 'mock cream' we were given on/with desserts? Well, I've just found the recipe for this that my mother gave me years ago. It tastes exactly as I remember. The recipe does call for overnight refrigeration, so bear this in mind if you decide to have a go at it.
Mock Cream
Ingredients:
8oz (200g) dried skimmed milk powder
Half pint (250ml) water
2oz (50g) caster sugar
Half teaspoon vanilla extract
Method:
In a heatproof bowl, mix the milk powder into the water, and cook over a saucepan of boiling water until thick, stirring now and again (15-20 mins after the water comes to the boil).
Keep in the refrigerator overnight, covering the surface closely with damp parchment (or greaseproof) paper to prevent a skin forming.
Next day, whisk the cream with the caster sugar until thick and creamy. Add the vanilla extract.
Sunday, 13 September 2015
Noah's 4th Birthday Cake
Here are a few pictures of my grandson, Noah's 4th birthday cake. You will see from his t-shirt that he is a great Mario Bros. fan.
My daughter, Katherine, and I had great fun making it.
His reaction on first seeing it, "It's the best birthday cake ever!". I think he liked it.
My daughter, Katherine, and I had great fun making it.
His reaction on first seeing it, "It's the best birthday cake ever!". I think he liked it.
Pink Toddler Dress with Overlay
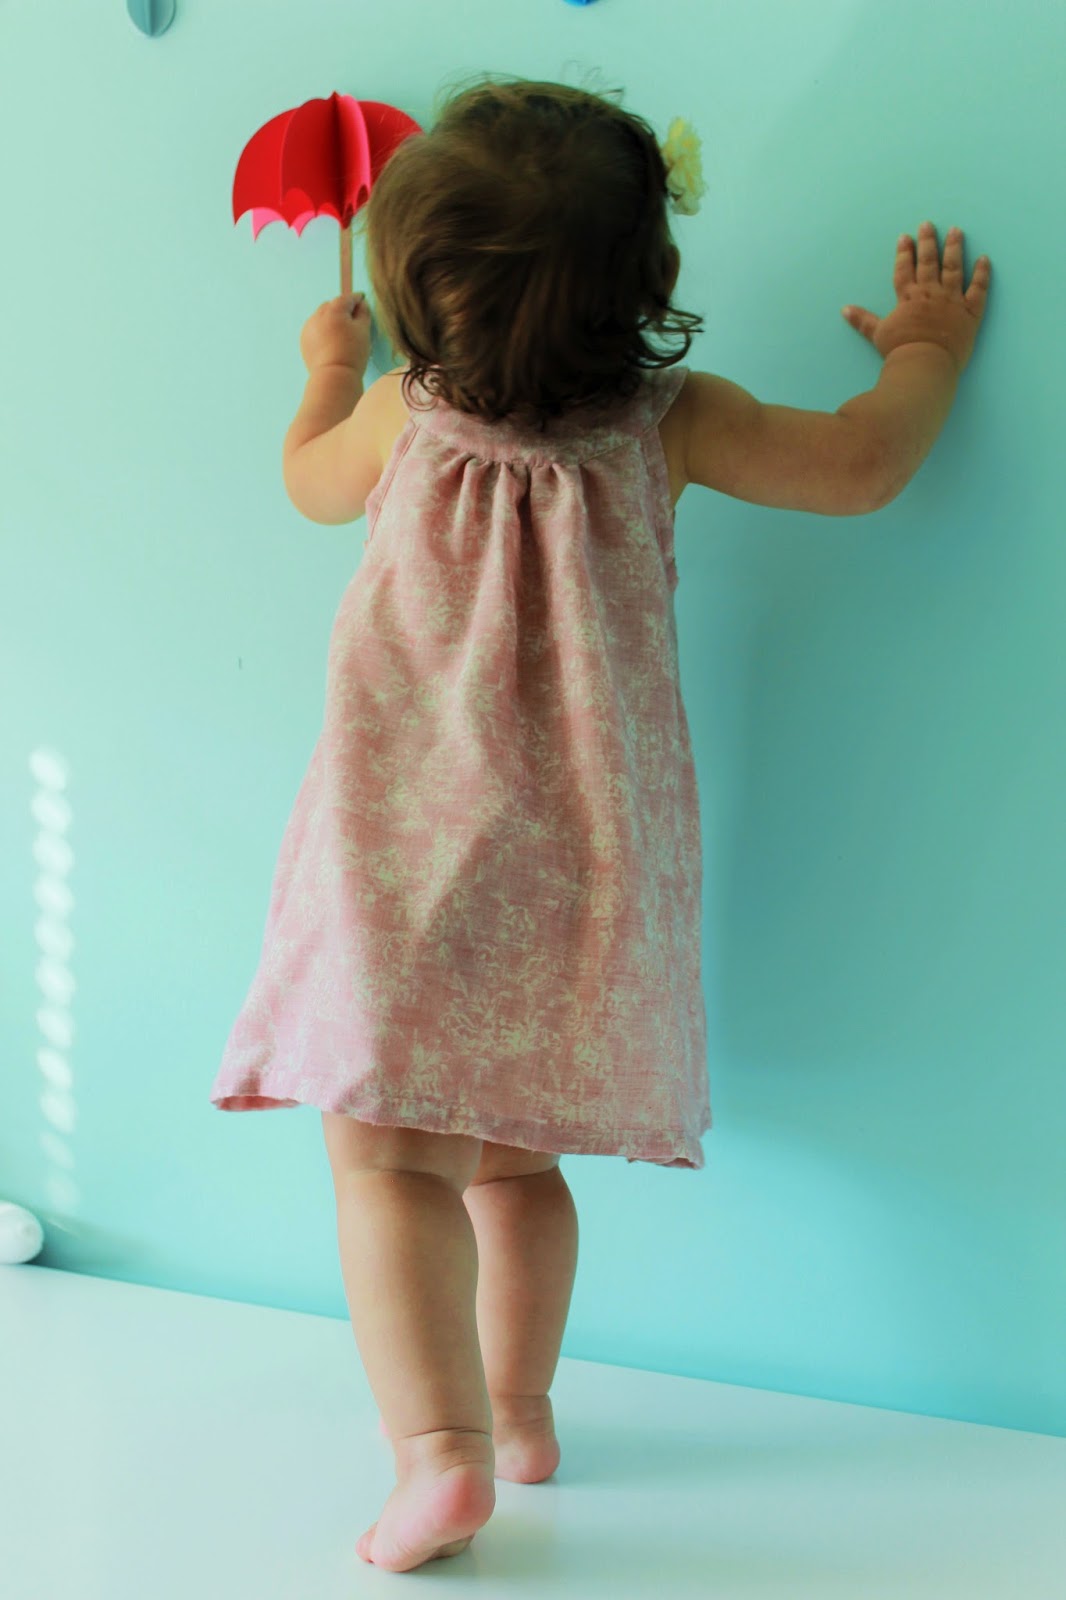
This light, summery, dress was made for my granddaughter, Lily, for my eldest daughter's wedding in July. The material is a plain dusty pink cotton, overlaid with a dusty pink gauze fabric. with a white flower print. Two very small buttons were used for each of the straps.
Please do not reproduce these photographs in any way without my permission.
You can see the colour of the underlay in the picture above.
Please do not reproduce these photographs in any way without my permission.
Machine-shirred Yellow Toddler Dress
Very simple yellow cotton print dress, made for, and modelled by, Lily The machine-shirred bodice and straps will grow with her.
Please doo not reproduce these pictures in any way without my permission.
Sunday, 3 May 2015
Yellow Baby Play Dress
I made this dress from Prudent Baby's Snappy Toddler Dress online free pattern here, http://www.prettyprudent.com/2010/07/baby-kid/snappy-toddler-dress-2/
I changed the pattern slightly by inserting a pleat front and back, instead of gathers; and using buttons instead of snaps.
Here are a couple of close-ups of the button and buttonhole, and the inside back neckline.
Labels:
Baby,
Cotton,
Dress,
Girl,
Play dress,
Prudent Baby,
Sewing,
Wooden button,
Yellow
Monday, 8 December 2014
2014's Nearly Over
Good grief, I haven't posted for a year and a half! Since that time, there have been a couple of important events in the Wood family:
A simple skirt for Lily (when she gets a bit older)
I also made her a really pretty yellow floral dress, using Made by Rae's free Geranium dress pattern, but unfortunately didn't manage to get any photographs of her wearing it and she's outgrown it now.
A seat for Noah, made out of the remnants of some black and white curtain material I purchased from Ikea some years ago and stuffed with bean bag beads. He loves it!
A knitted throw to keep off that Ontario winter chill now we are living out in the country (and if the weather is anything like last winter, I'll need it!)
And to use up the leftover wool, I made myself this infinity scarf using a circular needle:
I'm presently finishing off a quilt that I started making, oh, about the same time as my last blog post, ie 1.5 years ago and which has been waiting patiently for me since then. I think the reason it's taken me so long to finish it, is that it is a direct copy from the pattern in a book - same colours and all - and it didn't feel right to so completely copy someone else's quilt. Anyway, since we've moved, it will go beautifully in my spare bedroom so I'm finishing it off at last. To make it a little bit my own, I've quilted just outside the 'ditch' along each horizontal stripe, and I also decided to use a faced edge instead of the usual bound edge.
- We have a new granddaughter, Lily, born at the end of July - a sister for 3-year-old, Noah.
- We've moved house to a more rural location, and have been busy getting it 'up to spec' - there's still a way to go
A simple skirt for Lily (when she gets a bit older)
I also made her a really pretty yellow floral dress, using Made by Rae's free Geranium dress pattern, but unfortunately didn't manage to get any photographs of her wearing it and she's outgrown it now.
A knitted throw to keep off that Ontario winter chill now we are living out in the country (and if the weather is anything like last winter, I'll need it!)
And to use up the leftover wool, I made myself this infinity scarf using a circular needle:
I'm presently finishing off a quilt that I started making, oh, about the same time as my last blog post, ie 1.5 years ago and which has been waiting patiently for me since then. I think the reason it's taken me so long to finish it, is that it is a direct copy from the pattern in a book - same colours and all - and it didn't feel right to so completely copy someone else's quilt. Anyway, since we've moved, it will go beautifully in my spare bedroom so I'm finishing it off at last. To make it a little bit my own, I've quilted just outside the 'ditch' along each horizontal stripe, and I also decided to use a faced edge instead of the usual bound edge.
Thursday, 8 August 2013
Noah's Second Birthday
Monday, 5 August was Noah's second birthday.
A great day was had by all.
This is his cake. Mum made the cake pop eyes, and I made the cake.
A great day was had by all.
This is his cake. Mum made the cake pop eyes, and I made the cake.
Saturday, 4 May 2013
Making Biscuits (Cookies)
Felt the need for some biscuits, so made my favourite: Ginger and molasses cookies
Eight minutes later...
Mmmm!
I made them with brown sugar instead of white, just to try something a little different, and they taste great!
Rolled the little balls of dough in white sugar and decorated each one with a criss-cross pattern (with a fork)
Eight minutes later...
Mmmm!
Bean Bags for Noah
With Noah's 2nd birthday coming up in August, I thought I'd make him a few 4.5 inch bean bags with a letter of his name on each one. I didn't want to use the usual beans or rice filling, as this can start to grow if it gets wet - and these bags will probably need to be washed pretty regularly - so I went with some small beads found in our local Dollarstore.
Because I'd used beads which were slightly heavier than beans would have been, I didn't want the bags to split open and have him swallow any of them, so I made a simple interior bag, double-stitched all the edges and also zig-zagged it to keep it neat.
I sewed four bags out of brightly coloured cotton, cut out Noah's initials from the same colour fabrics and ironed on some light stiffener to make sewing them on easier, appliqued an initial of his name onto each bag, put the interior bag inside, and sewed up the open seam - simple!
Because I'd used beads which were slightly heavier than beans would have been, I didn't want the bags to split open and have him swallow any of them, so I made a simple interior bag, double-stitched all the edges and also zig-zagged it to keep it neat.
I sewed four bags out of brightly coloured cotton, cut out Noah's initials from the same colour fabrics and ironed on some light stiffener to make sewing them on easier, appliqued an initial of his name onto each bag, put the interior bag inside, and sewed up the open seam - simple!
Unfortunately I ran out of yellow thread, so before I can finish the 'A' and the 'O' bags, I need to purchase some more, but here are the two bags I've finished so far
Tuesday, 1 January 2013
Millie's Christmas Bandana
Don't we all want to look our best at Christmas? Millie does, so I made her a Christmassy bandana that she could wear and look especially festive.
A triangle of bright red cotton fabric, a quick hem all round, some iron-on glittery christmas trees, and voila. Simple!
Sunday, 14 October 2012
Mug Rug
Yesterday I decided to join the 'mug rug club' and had a go at making myself a mug rug from one of 'Handmade by Alissa''s designs on her website. I shamelessly stole her pattern and colour ideas, but as "imitation is the sincerest form of flattery' I thought that she probably wouldn't mind! As this was such a small item, only 6" x 8", I drew the design onto a piece of copy paper and used the paper piecing method to make this.
I'll definitely make another one - and use my own design - as it took me less that 2 hours to cut, sew and quilt the 'rug'. I bound it in the usual way, handstitching the back with a slip-hem stitch, but I think next time I will use the self-binding process and see if that works any better.
Subscribe to:
Posts (Atom)