Monday, 13 June 2011

Burp Cloths

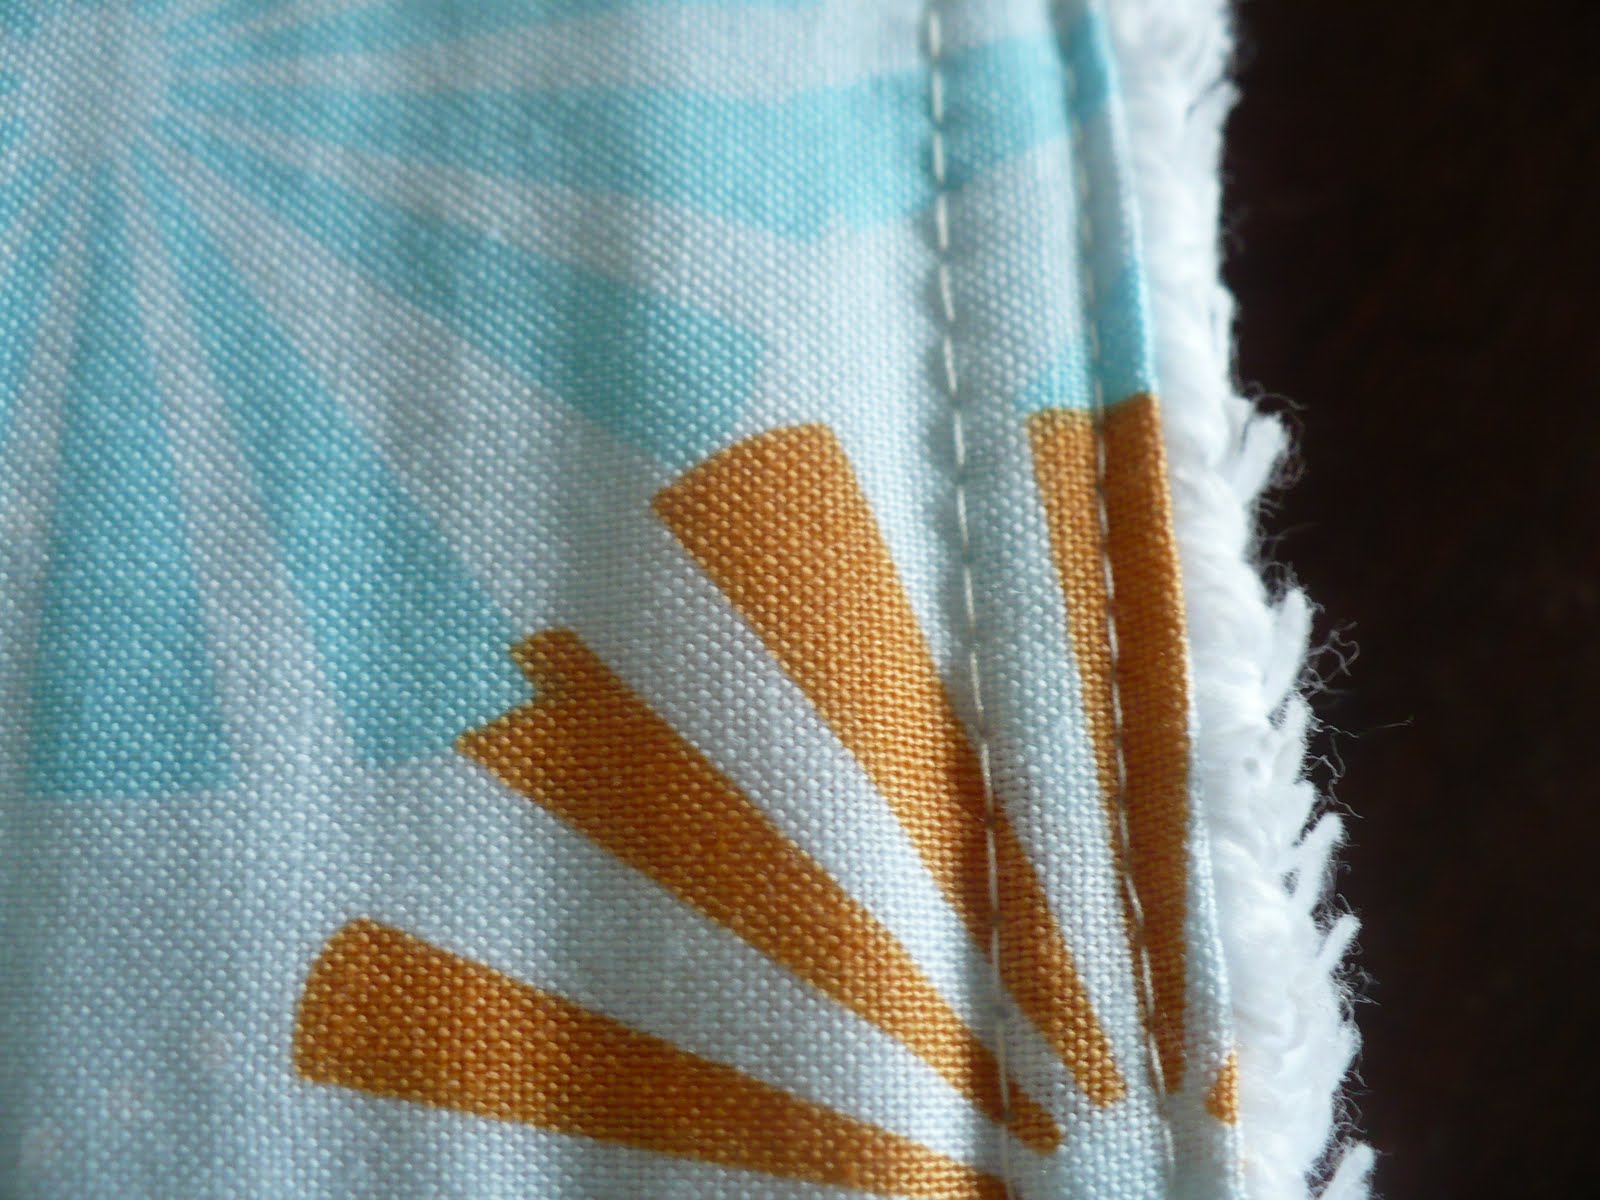
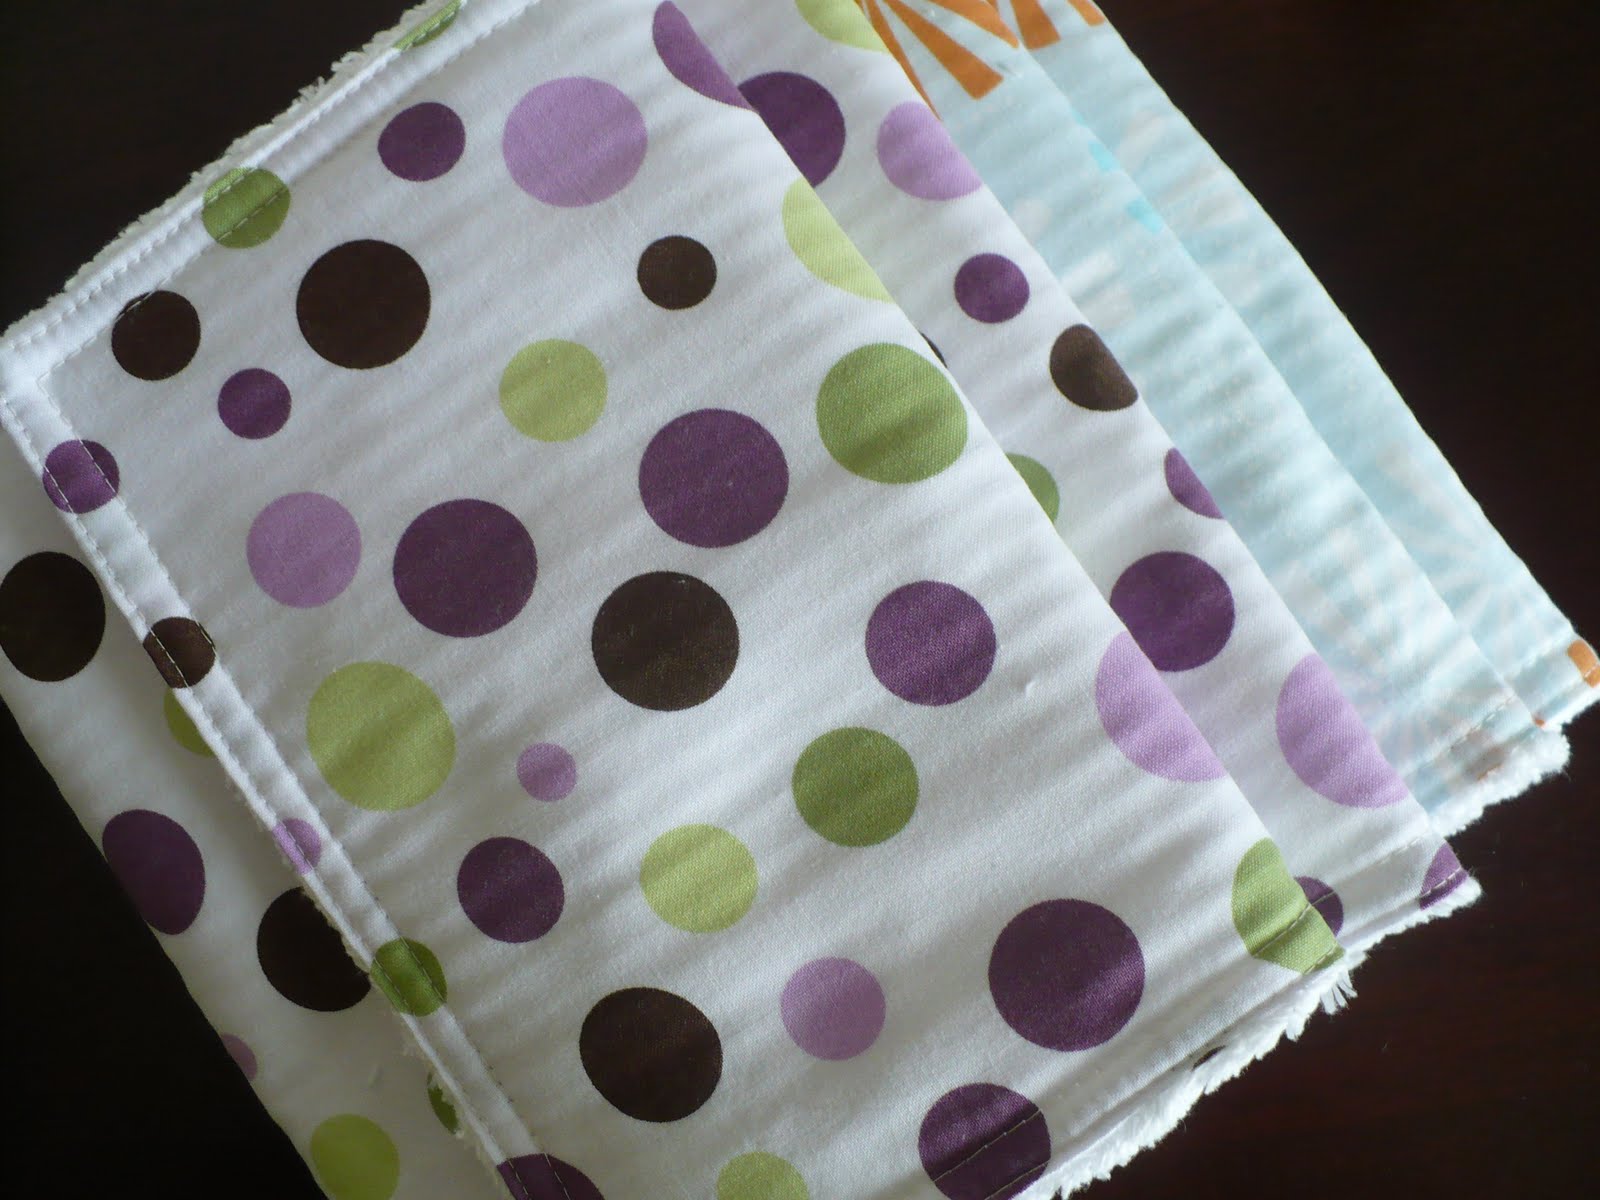
We're getting closer and closer to that 'expected' date of mid-August and I had some fat quarters of a  fun spotty fabric so I thought... burp cloths.  They are backed with a white cotton chenille and each measure approximately 8" x 21".  I top stitched them twice and made all four in about 2 hours - simple!


I made a couple, but thought that probably wouldn't be enough so I made a couple more with some summery fabric... again, backed with the same chenille.


 I think they look pretty cute - and so does mum.  But I still have a lot of the chenille fabric left and not a clue what to do with it... more burp cloths maybe? 


Saturday, 4 June 2011

Noah's Quilt

A quilt for my grandson who is due in August!


Mum wanted lots of colour and a simple design and I had some charm packs of solid colours from Connecting Threads, some of which were cut into 2.5" squares for a finished 2" centre square.  The rest were cut into 1" widths, chain pieced into strips, and cut into 1" lengths for the strips of 1/2" finished squares.  It was a bit fiddly for sure, but it has turned out just great and mum's very happy with it.


The backing is a solid chartreuse-coloured, 100% cotton fabric, quilted simply with straight lines following the sashing round each pieced square.


 A label and a gentle wash - and we have our quilt.


Sunday, 10 April 2011

A Playmat for an Expected Arrival

As my son and his wife are expecting their first child in August this year, I think it is time, as a first-time grandmother, to start sewing!  So I started with a playmat.  It is simply squares of fabrics from Connecting Threads which I have chenilled.


I used several layers of mostly solid colours - cornflower, orange, lemon and a softer blue, for the chenille.  It was very easy and fun to make and it will only get better with more washings.


I bound it in the same cornflower blue as I used as a 'background colour' for the chenilling (is that how you spell it?).


A close-up of the chenilled side...


... and of the main fabric from Connecting Threads. 

It has already been christened - a friend brought her new-born baby to see me recently and it came in very handy as a playmat and changing mat.


Sunday, 13 March 2011

Coasters - Hourglass Blocks

After finishing my girl's quilt, which used hourglass blocks, I had quite a few left over so I thought I'd keep them and make something with them at a later date...

Well, here is one idea I've come up with.  After browsing online, I found several good tutorials for coasters and thought that these spare hourglass blocks might make good coasters.  So I put a few of the good ideas I'd seen from various tutorials together and came up with these.  I sewed two blocks together with two layers of batting in between, and bound the edges using 1" binding strips - which was more fiddly than I thought it would be.  In essence, these are tiny quilts.

I might try making a few more, but this time I won't try to mitre the bound edge - just bind it one edge at a time and machine stitch it down.  And I'll make the binding slightly wider as well.

Sunday, 6 March 2011

I know it's been a while...

I realise it has been a while since I posted!  I've been busy with trying to finish the green log cabin quilt and I've also made a quilt top from some scrap fabric and odd fabrics that I wasn't sure I would use again which was going to be for my dog, Millie:  Here she is:-


Of course, I realise that she's being very bad and laying somewhere she shouldn't be... I just really like this picture of her!

Unfortunately for Millie, when I pieced it all together I really liked it so I've decided to keep the quilt and use it myself.  To make her feel better, I've given her a picnic quilt I made some time ago out of some old denim jeans which she's just as happy with!  So now I need to make a new picnic quilt, as well as finish this new quilt.


The green log cabin quilt is now finished - this is one of the reasons I've been so quiet of late.  It took simply ages to hand quilt each of the 'logs'.  It's kept me busy for many months now (on and off).  Here it is in all its glory...


Ann Marie - thanks for your suggestion, but I just had to turn the block around!  I know it would have bugged me to keep seeing it, and I most likely would have had to turn it to match the others at some point.  Better to be done before quilting and binding, than after!  :)

Sunday, 21 November 2010


Due to increasing senility, I needed somewhere to keep my camera, because I kept losing it, so I made this.  I used the tutorial from Sew-Mad's blogspot here http://sew-mad.blogspot.com/2008/02/triple-c.html.  I must have added a little too much 'wiggle' room and it has turned out a little too big so I will need to make another, slightly smaller, one, but (for now) I am happy with it.


(That "increasing senility" I was talking about above - well, I was searching high and low for my camera to take a photograph of this camera case.  Can you guess where it was?  Enough said.)

Sunday, 17 October 2010

Another Crayon Roll

Another crayon roll to add to my Christmas present pile.  Well, honestly, the only Christmas presents I have so far are these two crayon rolls - but it's a start.

It's made from the same tutorial as the other one, as I think they are rather cute.

This one destined for a special little girl that my sister-in-law fosters, and as she's slightly older I have used ribbon ties instead of buttons. 

(You can still see the marks I made for the sewing line for each crayon 'tube' in some of these pictures, but they will soon disappear.)


[As an update to this, I decided I really didn't like the ties so I'm going to attach buttons and use a hair tie to fasten it.]


Saturday, 9 October 2010

Crayon Holder


Now Thanksgiving is almost on us, my thoughts are turning to Christmas and so I thought I'd make this crayon roll for the little girl next door (me having no children of the right age for it!).  It's almost finished, but I just need to find a fastener for the two buttons.  I made this following a tutorial from You Go Girl which you can find here: http://yougogirl.typepad.com/you_go_girl/2009/02/guess-what-today-is-no-its-not-my-birthday-nope-not-my-anniversary-groundhog-day-has-passed-and-valentines-isnt-yet-here.html


In this photo, you can see that I 'flattened' the bottom of each pocket.


The back view (or would you class this as the front view?)


A closer view of the main fabric used.  All the fabric came from Connecting Threads.


You can see the inside fabric in the following two photos


I think I'll try making one with ties next time, for a change.  I'll keep you posted.

Wednesday, 4 August 2010

Cot-Size Hourglass Quilt


This is my latest offering!

A cot-size quilt - especially for a girl.  Made with Sandi Henderson's Meadowsweet fabric and machine-quilted in a very simple way with vertical and horizontal straight lines.  I pieced together the fabric for the binding from the same fabrics used in the quilt, and the top and bottom edges have a small, 1" square border.